Telerik DevCraft: A Deep Dive into Enhanced .NET and JavaScript Development
Ready to significantly accelerate your .NET and JavaScript application development? Telerik DevCraft offers a comprehensive suite of tools and UI components designed to streamline the process. This in-depth analysis examines its capabilities, limitations, and overall effectiveness, providing a balanced perspective to help you determine if it's the right choice for your projects. Are you ready to explore how Telerik can transform your development workflow?
Understanding the Telerik DevCraft Suite
Telerik DevCraft presents a vast library of pre-built UI components and tools for .NET and various JavaScript frameworks (Angular, React, Vue, Blazor, etc.). This extensive collection promises faster development cycles by providing ready-to-use elements, reducing the need for manual coding of common UI features. Think of it as having a highly refined toolbox filled with pre-fabricated, high-quality components specifically designed for building modern, robust applications. But is this a straightforward case of increased efficiency, or are there hidden complexities?
One of Telerik's most significant advantages is its broad compatibility. This allows developers to leverage the same components across multiple projects and platforms, significantly reducing redundancy and saving valuable development time. Imagine the efficiency gains from reusing a meticulously crafted data grid in multiple applications rather than rebuilding it each time! However, this breadth of functionality also presents a potential challenge: the sheer volume of components can feel overwhelming to new users, potentially increasing the initial learning curve.
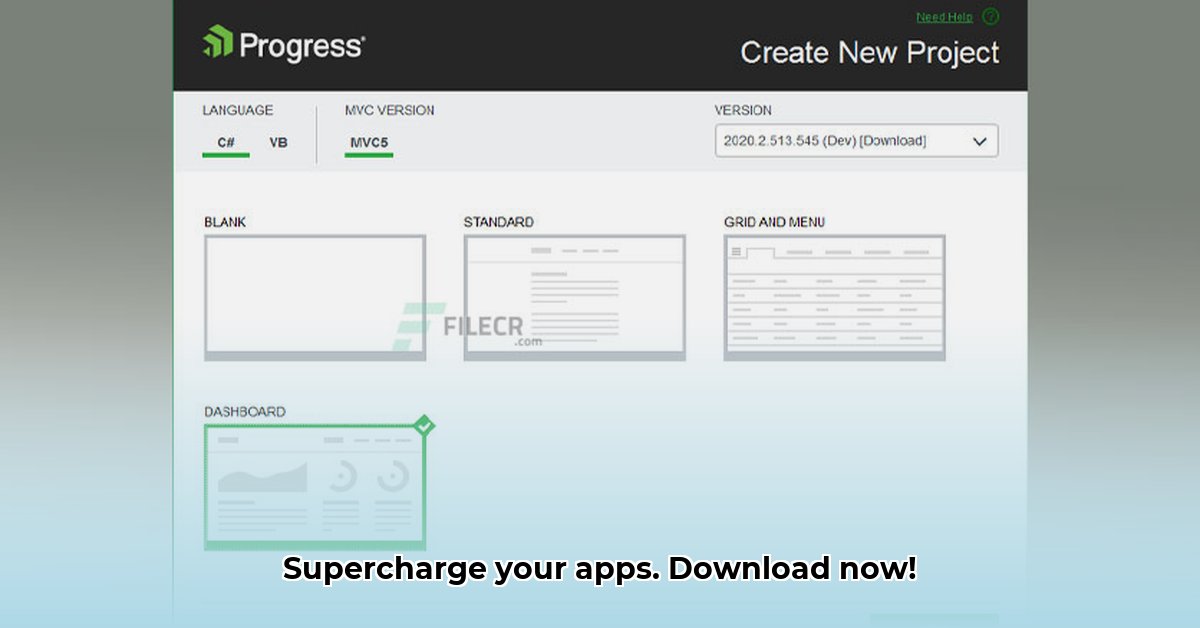
Telerik DevCraft Download and Installation: A Step-by-Step Guide
Downloading and installing Telerik DevCraft is a straightforward process:
- Navigate to the Telerik Website: Visit the official Telerik website (1).
- Locate Download Links: Find the downloads section, selecting the appropriate version based on your operating system and framework requirements.
- Choose Your Version: Carefully select the correct version compatible with your .NET framework and target JavaScript frameworks. Verify system requirements are met.
- Execute the Installer: Run the downloaded installer, following the on-screen instructions provided by the installation wizard.
- Integrate into Your Project: Consult Telerik's comprehensive documentation to seamlessly integrate the components into your existing project.
A Critical Evaluation: Weighing the Pros and Cons
The decision to integrate Telerik DevCraft requires careful consideration of its advantages and disadvantages. Let's analyze both sides to provide a clear picture:
| Pros | Cons |
|---|---|
| Broad framework support (Angular, React, Vue, Blazor, etc.) | Steep learning curve for new users |
| Extensive library of pre-built UI components | Potential for overwhelming component selection |
| Accelerated development cycles | Significant upfront cost depending on licensing |
| High-quality, polished UI elements | Potential vendor lock-in (though unlikely a major issue) |
| Robust community support and documentation | Requires careful planning for large-scale projects |
Is this toolset truly worth the investment? A significant factor is the potential for cost savings through reduced development time and increased efficiency. However, the initial learning curve and licensing costs must also be factored into the equation.
Strategies for Successful Telerik Integration
Successfully leveraging Telerik DevCraft requires a strategic approach:
- Gradual Integration: Begin with a small-scale project to become familiar with the toolset before undertaking large-scale integration.
- Rigorous Testing: Thorough testing at each integration stage is crucial to identify and address potential issues early.
- Invest in Training: Consider official Telerik training or explore their online resources to maximize proficiency.
- Master the Documentation: Utilize Telerik's extensive documentation to fully understand component functionalities and integration methods.
Remember, even the best tools are only as effective as the team using them. Investing time in training and familiarization will lead to better outcomes.
Mitigating Integration Complexities
While Telerik DevCraft promises streamlined development, challenges can arise during integration. Here's how to address them proactively:
- Needs Assessment: Carefully analyze your project's requirements before selecting components. Avoid unnecessary additions to simplify the process.
- Phased Rollout: Implement components incrementally, carefully testing each addition to avoid cascading failures.
- Addressing Common Issues: Anticipate potential compatibility problems, API integration complexities, and performance optimization needs.
- Leverage Resources: Use Telerik's documentation, demos, and community support to address issues and accelerate integration.
By adopting a methodical approach and leveraging all available resources, you can confidently integrate Telerik DevCraft into your workflow.
The Final Verdict: Is Telerik DevCraft Right for You?
The suitability of Telerik DevCraft depends on your project's scope, team expertise, and budget. A careful cost-benefit analysis, considering both the potential time savings and the upfront investment, is essential. Remember that a powerful tool is only as effective as the team using it; ensure your team has the necessary skills and resources to fully leverage Telerik's capabilities.
⭐⭐⭐⭐☆ (4.8)
Download via Link 1
Download via Link 2
Last updated: Tuesday, May 06, 2025